Build a Standalone App with Firebase Authentication and Database: No Backend Needed
What is Firebase, and Why Use It?
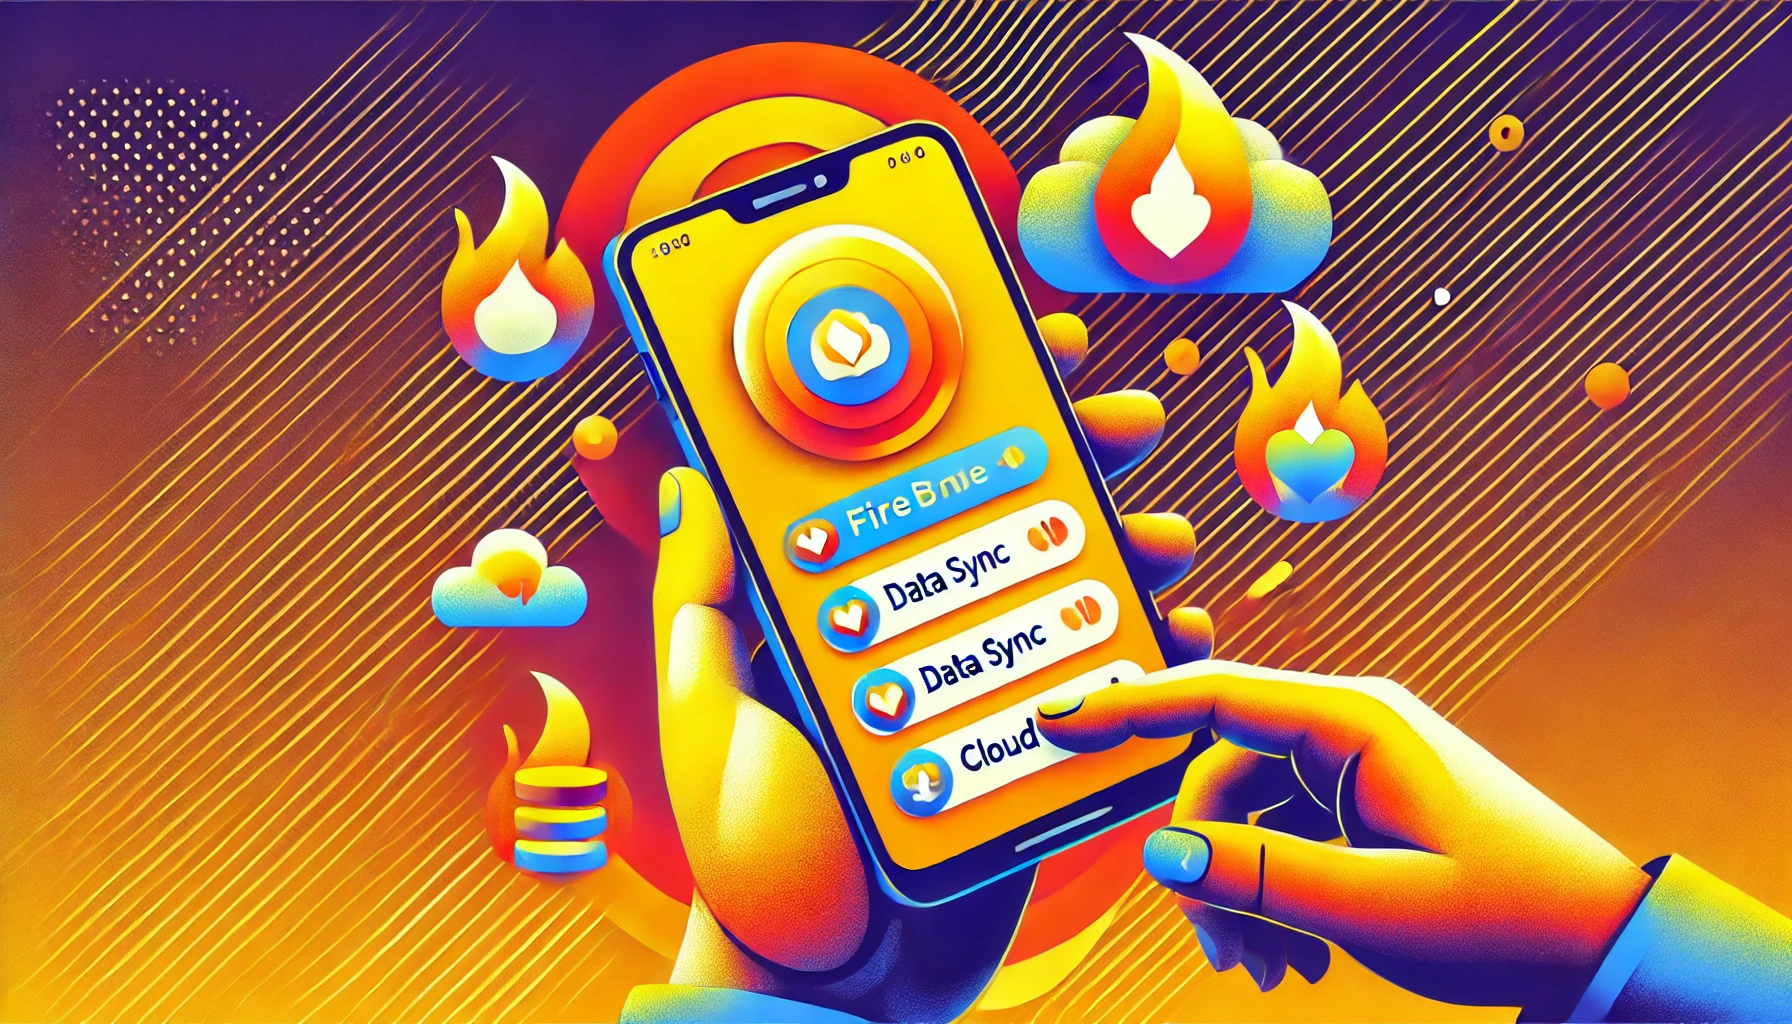
Firebase is a powerful platform by Google that offers a suite of services—ranging from secure authentication to real-time data synchronization—without requiring you to build or maintain any servers. When paired with Ionic/Angular and Capacitor, you can develop hybrid mobile apps for both Android and iOS devices quickly and efficiently, all while avoiding the overhead of traditional backend setups.
Firebase Authentication: Overview and Benefits
- Multiple Sign-In Methods: Support for email/password, phone number, social providers, and more.
- Security and Reliability: Firebase manages your user credentials and ensures robust protection.
- No Server-Side Code Required: Authentication logic is handled by Firebase, reducing backend complexity.
Advantages of Firebase for Standalone Apps
- Backendless Development: Eliminate the need for dedicated servers or custom APIs.
- Scalability: Firebase automatically handles increased traffic as your user base expands.
- Real-Time Updates: With the Firebase Realtime Database, data changes are synchronized instantly across all clients.
- Easy Integration: Straightforward SDKs for Angular and Ionic, with built-in Capacitor support for native functionalities on Android/iOS.
- Rich Ecosystem: Access to additional features like Cloud Functions, Hosting, and Analytics as your app grows.
Step 1: Setting Up Firebase in Your App
- Create a New Ionic/Angular Project
ionic start MyFirebaseApp tabs --capacitor
- Choose your preferred template (e.g.,
tabs,blank,sidemenu). - Navigate into your new project directory:
- Choose your preferred template (e.g.,
cd MyFirebaseApp
- Set Up a Firebase Project
- Go to the Firebase Console and create a new project.
- Within your project, add a new Web App to obtain your Firebase configuration.
- Install Firebase and AngularFire
npm install firebase @angular/fire
- Add Firebase Configuration
Open src/environments/environment.ts (and environment.prod.ts if needed) and add your Firebase config:
export const environment = {
  production: false,
  firebaseConfig: {
    apiKey: 'YOUR_API_KEY',
    authDomain: 'YOUR_PROJECT.firebaseapp.com',
    databaseURL: 'https://YOUR_PROJECT.firebaseio.com',
    projectId: 'YOUR_PROJECT_ID',
    storageBucket: 'YOUR_PROJECT.appspot.com',
    messagingSenderId: 'YOUR_MESSAGING_SENDER_ID',
    appId: 'YOUR_APP_ID'
  }
};
- Initialize Firebase in
main.ts
For Angular (standalone components) + Ionic:
import { enableProdMode } from '@angular/core';
import { bootstrapApplication } from '@angular/platform-browser';
import { AppComponent } from './app/app.component';
import { provideFirebaseApp, initializeApp } from '@angular/fire/app';
import { provideAuth, getAuth } from '@angular/fire/auth';
import { provideDatabase, getDatabase } from '@angular/fire/database';
import { environment } from './environments/environment';

if (environment.production) {
  enableProdMode();
}

bootstrapApplication(AppComponent, {
  providers: [
    provideFirebaseApp(() => initializeApp(environment.firebaseConfig)),
    provideAuth(() => getAuth()),
    provideDatabase(() => getDatabase())
  ]
}).catch(err => console.error(err));
Step 2: Implementing Firebase Authentication
How to Secure Your App with Firebase Authentication
- Enable Authentication Methods
- In the Firebase Console, navigate to Authentication and enable methods like Email/Password, Google, or Phone.
- Create an Auth Service (Angular)
import { Injectable } from '@angular/core';
import { Auth, createUserWithEmailAndPassword, signInWithEmailAndPassword, signOut } from '@angular/fire/auth';

@Injectable({ providedIn: 'root' })
export class AuthService {
  constructor(private auth: Auth) {}

  signUp(email: string, password: string) {
    return createUserWithEmailAndPassword(this.auth, email, password);
  }

  signIn(email: string, password: string) {
    return signInWithEmailAndPassword(this.auth, email, password);
  }

  signOutUser() {
    return signOut(this.auth);
  }
}
- Build Login and Registration Screens (Ionic)
<!-- sign-up.page.html -->
<ion-header>
  <ion-toolbar>
    <ion-title>Sign Up</ion-title>
  </ion-toolbar>
</ion-header>

<ion-content>
  <ion-item>
    <ion-label position="floating">Email</ion-label>
    <ion-input [(ngModel)]="email"></ion-input>
  </ion-item>
  <ion-item>
    <ion-label position="floating">Password</ion-label>
    <ion-input [(ngModel)]="password" type="password"></ion-input>
  </ion-item>
  <ion-button expand="full" (click)="register()">Sign Up</ion-button>
</ion-content>
typescript
Copy
// sign-up.page.ts
import { Component } from '@angular/core';
import { AuthService } from '../services/auth.service';

@Component({
  selector: 'app-sign-up',
  templateUrl: './sign-up.page.html',
  styleUrls: ['./sign-up.page.scss'],
})
export class SignUpPage {
  email = '';
  password = '';

  constructor(private authService: AuthService) {}

  register() {
    this.authService.signUp(this.email, this.password)
      .then(() => console.log('Registration successful'))
      .catch(error => console.error('Registration error:', error));
  }
}
Step 3: Setting Up and Using Firebase Realtime Database
Firebase Realtime Database: Key Features
- Real-Time Data Sync: Changes in the database are instantly reflected in all connected clients.
- JSON-Based Structure: Data is stored as a JSON tree, making it intuitive for hierarchical data.
- Offline Support: Data is cached locally and synced once the user reconnects to the internet.
- Enable Realtime Database
- In the Firebase Console, navigate to Realtime Database.
- Choose Start in test mode (for development) or production mode with secure rules.
- Integrate the Database (Angular + Ionic)
- In your service file (e.g.,
database.service.ts), add methods to write and read data:
import { Injectable } from '@angular/core';
import { Database, ref, set, push, onValue, remove, update } from '@angular/fire/database';

@Injectable({ providedIn: 'root' })
export class DatabaseService {
  constructor(private db: Database) {}

  // Create a new record
  addItem(collection: string, data: any) {
    const collectionRef = ref(this.db, collection);
    return push(collectionRef, data);
  }

  // Read data in real-time
  getItems(collection: string, callback: (data: any) => void) {
    const collectionRef = ref(this.db, collection);
    onValue(collectionRef, snapshot => {
      callback(snapshot.val());
    });
  }

  // Update data
  updateItem(collection: string, itemKey: string, data: any) {
    const itemRef = ref(this.db, `${collection}/${itemKey}`);
    return update(itemRef, data);
  }

  // Delete data
  deleteItem(collection: string, itemKey: string) {
    const itemRef = ref(this.db, `${collection}/${itemKey}`);
    return remove(itemRef);
  }
}
- Perform CRUD Operations
- Create (Add Item):
this.databaseService.addItem('products', { name: 'Laptop', price: 1299 });
- Read (Get Items):
this.databaseService.getItems('products', (data) => {
  console.log('Products:', data);
});
- Update:
this.databaseService.updateItem('products', productKey, { price: 1399 });
- Delete:
this.databaseService.deleteItem('products', productKey);
Step 4: Managing App Data without a Backend
With Firebase Authentication handling user logins and the Realtime Database storing and syncing data, you can develop and deploy a standalone app entirely from your Ionic/Angular codebase. Whether it’s user profiles, product listings, or chat messages, everything runs on Firebase’s servers, saving you from the complexities of hosting or scaling a traditional backend.
Real-world Examples of Firebase-powered Apps
- Social Platforms: Real-time chat and friend recommendations.
- E-Commerce: Product listings, shopping carts, and live inventory updates.
- Productivity Tools: Shared task managers or note-taking apps with instant collaboration.
Tips for Optimizing Firebase in Your App
- Plan Your Data Structure: Avoid deep nesting in the Realtime Database—keep data shallow and use key references.
- Secure Your Data: Use Firebase’s Security Rules to limit who can read/write specific paths.
- Minimize Reads/Writes: Cache data locally, and group updates using
update()to reduce operations. - Monitor Usage: Keep an eye on your project’s usage in Firebase Console to prevent surprises.
- Security Rules
- Configure rules in the Firebase console to ensure only authenticated users can modify data.
- Limit a user to editing only documents that belong to them, for instance.
- Data Structuring
- Flatten data if you frequently query across multiple levels.
- Use subcollections for strongly related data (e.g.,
users/{userId}/orders).
- Performance Considerations
- Use indexes for queries that filter or order by multiple fields.
- Monitor reads/writes to avoid exceeding free tier limits.
- Offline Persistence
- Firestore automatically caches data locally, enabling offline functionality.
Conclusion: Streamline App Development with Firebase
By combining Ionic/Angular, Capacitor, and Firebase, you can build a powerful hybrid mobile application for Android and iOS—with zero backend servers. From user authentication to real-time data handling, Firebase offers a robust, scalable solution that lets you focus on crafting an amazing user experience.
Want to build feature-rich apps without worrying about backend infrastructure? Follow this tutorial and start leveraging Firebase for seamless authentication and data storage today!


No responses yet